
Suitable for
Residential use
- More stable than LVT vinyl, can be install on any levels
- Not expand or contract, remain stable at high/low temperature
- Ideal for offices, kitchen, living spaces, basement, game and recreation rooms

100% Water resistant
Water-resistant and moisture poof
- Phthalates free
- Zero formaldehyde content
Soft and Quiet
- Natural underfoot comfort
- Warmer than tradionnal surfaces like wood, ceramic and stone
- Attached acoustic underlayment to absorbs impact noise and sound

Durable Wear Layer
with enhanced coatings and UV protection
- 0.3mm Wear layer (light commercial grade)
- High resistance to direct sunlight
Thickness
- 5mm

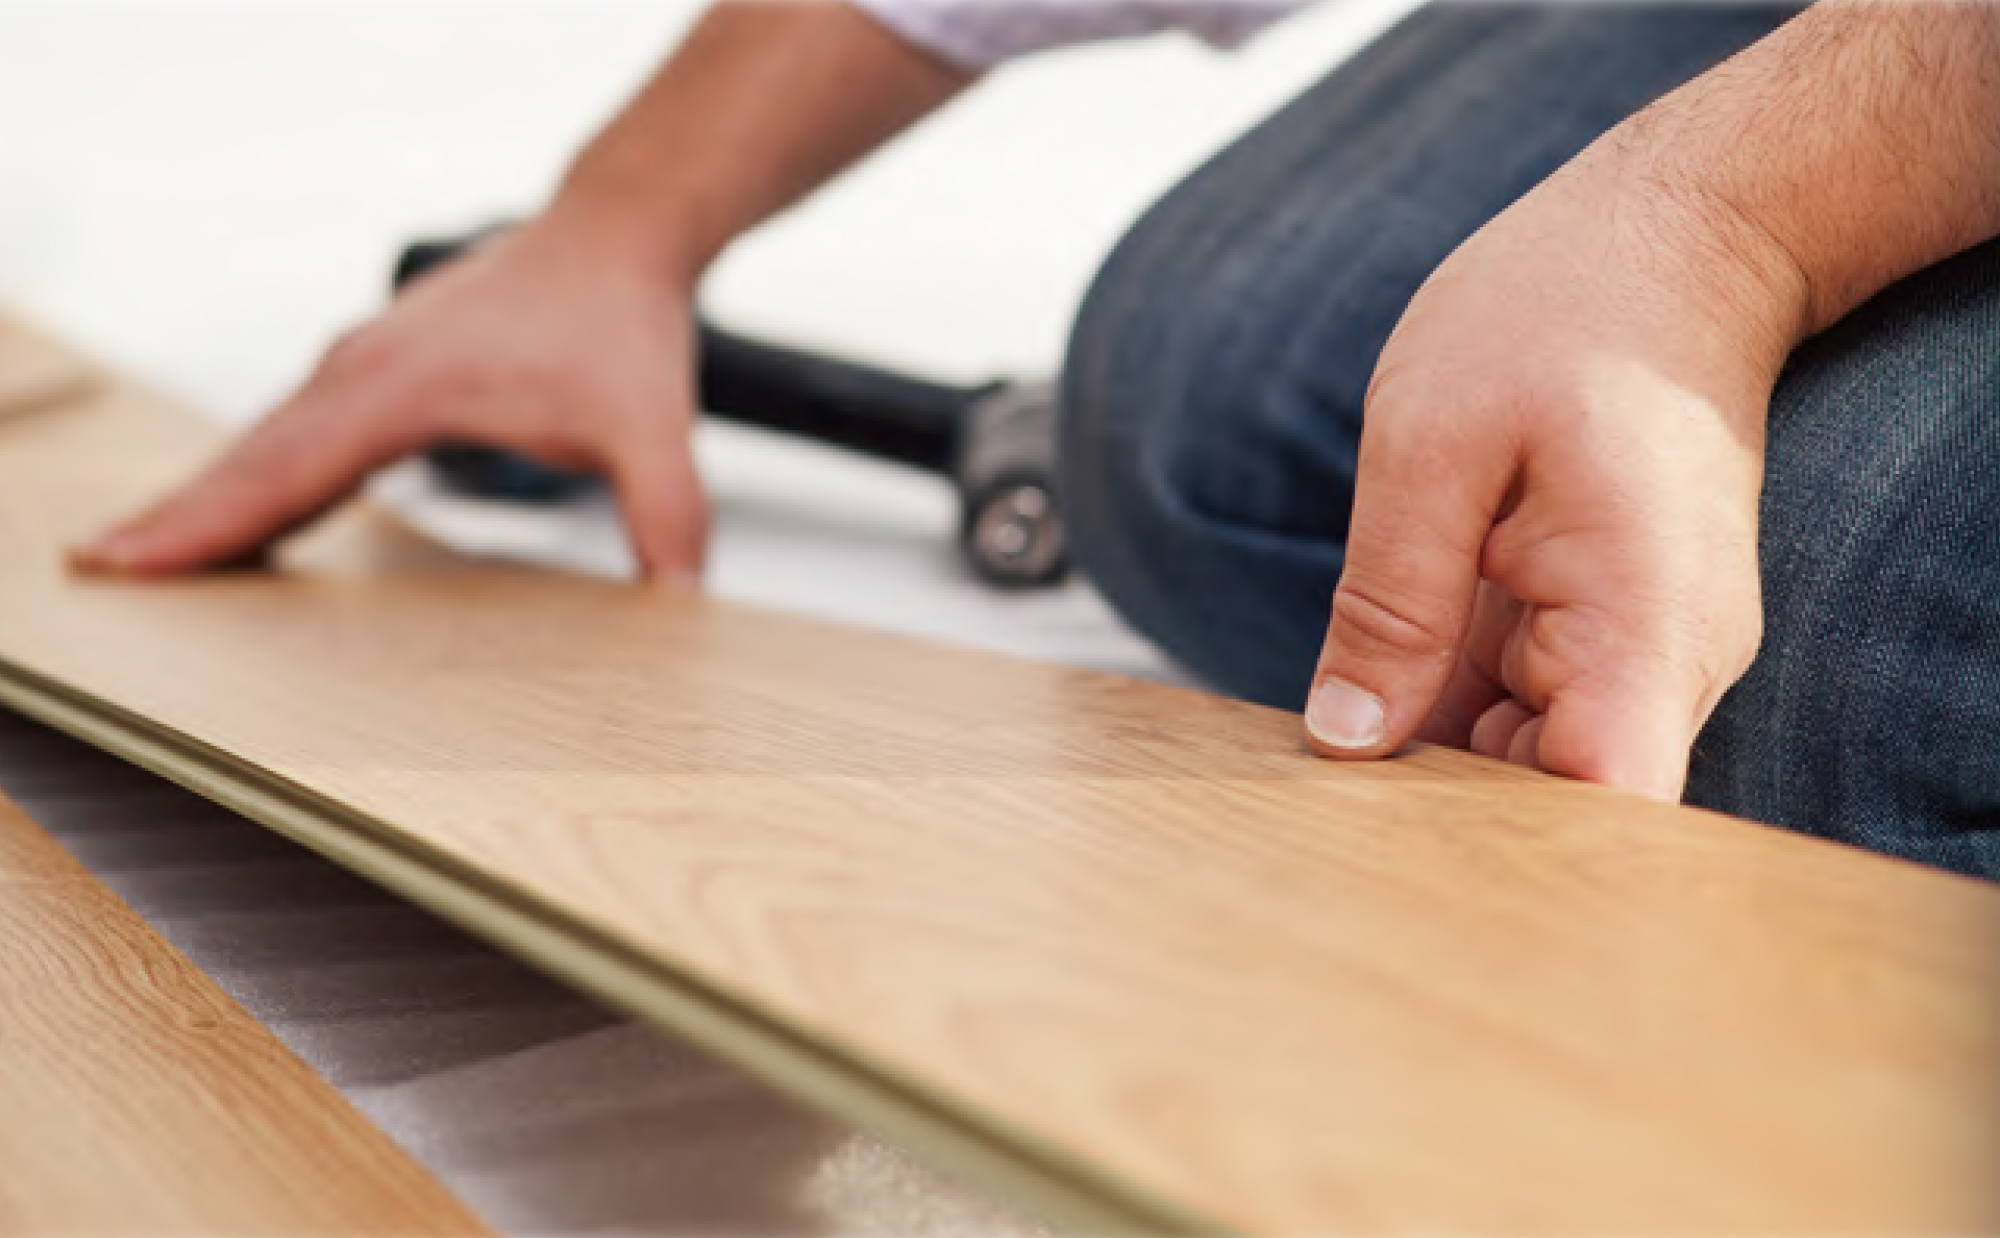
Easy to Install
on different surfaces
- DIY, quickly installed
- No heavy tools
- Attached underlayment
Easy to Clean
- Low maintenance
- Easy to take care of using a wet mop
Click Vinyl planks & Floating Vinyl Tiles Flooring
Click systems vinyl planks and tiles, also known as floating vinyl plank, can be quickly installed in almost any living spaces of your home with no heavy tools and underlayment required. It can be installed directly over the subfloor, even on top of existing floor.
SPC stands for Stone Plastic Composite, due to its composition, the SPC click will not expand or contract and remain stable in high/low temperature, more rigid than LVT Click, the SPC click vinyl plank is easier than ever to install.
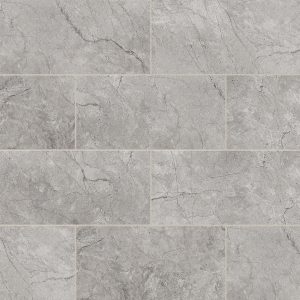
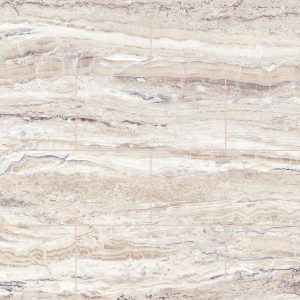
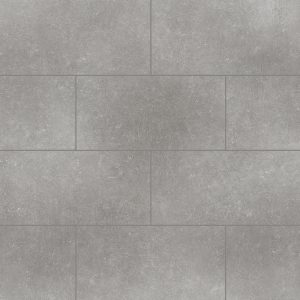
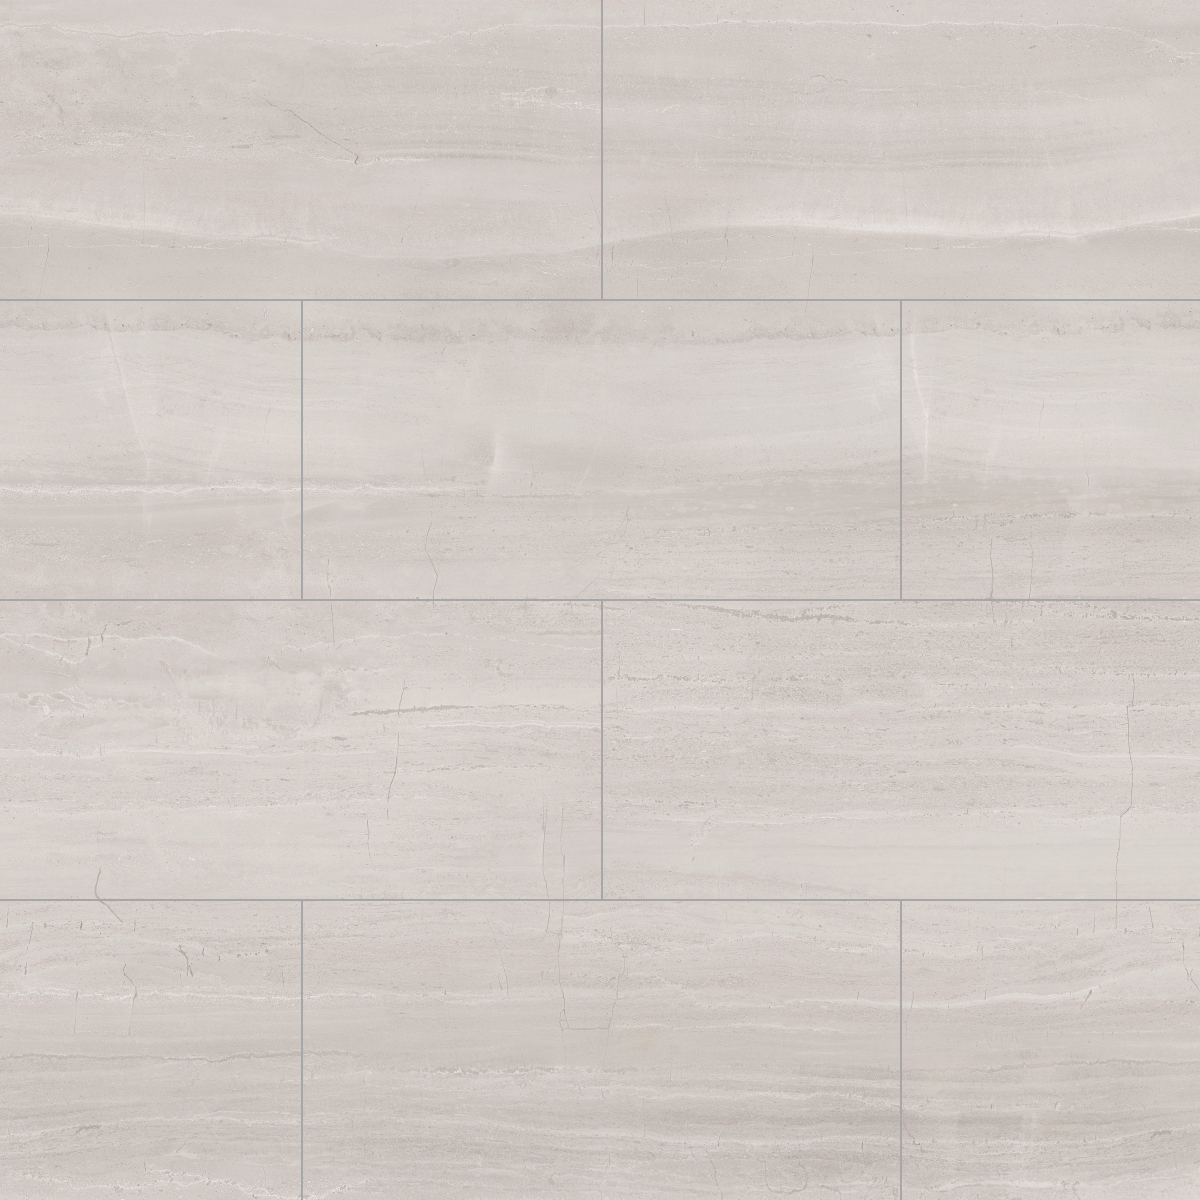
Trendy colors to enhance your home with classical appearance of real wood, stones and marble.
High resistance against dents and scratches with a 0.3 mm light commercial grade wear layer.
Soft and quiet for a warm natural under foot comfort with his attached underlayment.

Vinyl Plank Composition

Attached Underlayment
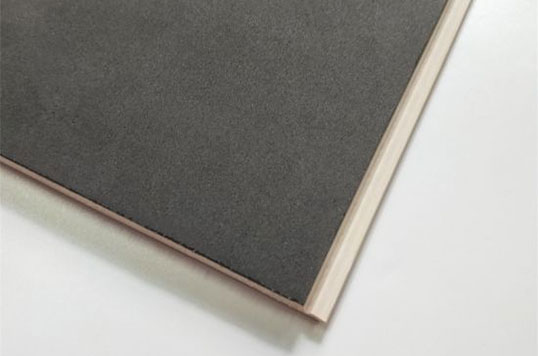
SPC Rigid Vinyl Click Systems

SUBSTRATE PREPARATION AND PLANKS/TILES INSTALLATION
Basic rules and guidelines before laying down your new floor
The substrate for Technofix planks must always be solid, completely flat, load-bearing and permanently dry (max. 2% humidity). In addition, it must be clean and free of debris.
Technofix Click System is a click-lock vinyl floor system intended for use in rooms with floors that are laid sprung. This product does not need to be glued down.
First, you need to measure the length and width of the room. Note that if the room has a bay window or an extension you will have to measure them separately. We recommend to figure at least 10% more than what you need in case of cutting errors or for replacement panels and future use.
Following the advice bellow will ensure the best results for each type of base floor:
Concrete/cement/anhydrite floor:
If necessary, level the base floor with a self-leveling compound and remove all dust. Use appropriate cement-based patching and skim coating compounds to fill holes, voids and minor irregularities in concrete substrates.
Underfloor heating:
Combining Technofix flooring with an underfloor heating system, the temperature must remain below 28°C at all times. Do not place vinyl tiles or vinyl planks on any heating elements. The heating system must be turned ON for at least 4 weeks before the floor is laid down in order to prevent shrinkage and expansion of the base floor.
Tile floor:
Fasten loose tiles. Fill the joints with a leveling compound or level the floor entirely.
Wooden substrate:
Make sure that nails and uneven areas have been removed and secure any loose wood floorboards. The wooden subfloor must be solid and completely stable. Do not place vinyl tiles or vinyl planks on any heating elements. Always leave 10mm of space between the wood boards panels and the wall, heating pipes and door frames, etc. Use appropriate cement-based patching and skim coating compounds to fill holes, voids and minor irregularities in plywood floor substrates.
Soft vinyl or carpet flooring:
Most floor coverings such as soft vinyl, cork and carpet must be removed and follow the steps described in the basic rules for the concerned substrate prior to the application of a Technofix flooring. Any weakly bonded or soft surface material, such as loose adhesive residues, leveling compounds, floor coverings or coatings must be removed properly.
Installing
Unpack and leave the Technofix planks out to acclimatise themselves to the temperature of the room for at least 48 hours. Do not fix the flooring if the room temperature is below 15°C. Ensure the seam is entirely closed by placing the second panel right next to the one that you have just laid. Technofix planks can be walked on immediately after installation.
Begin installing the planks from one corner (left corner); the groove must be facing away from the wall. Maintain a seam of 2 - 3 mm.
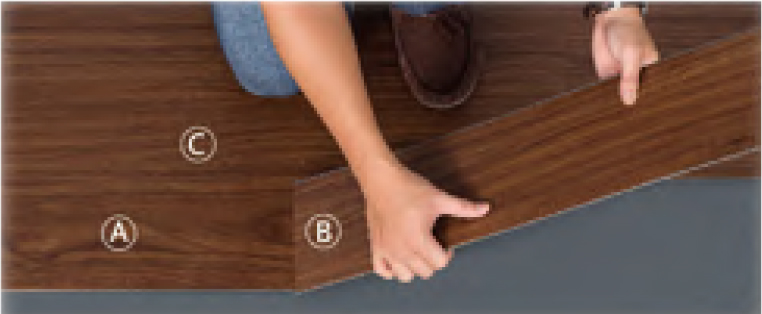
Lift the B plank at 45 degree angle and connect the shorter side to A plank.
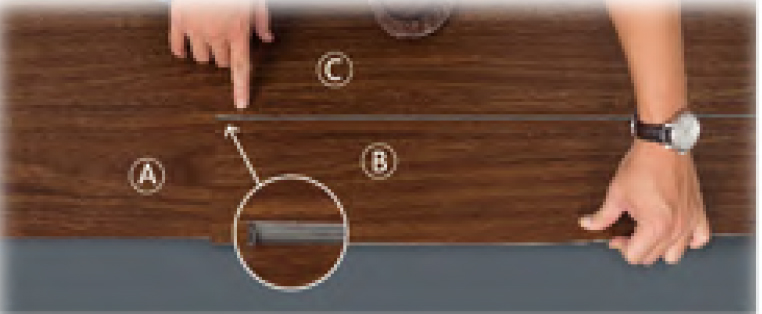
Lower the B plank to the ground, space it for about 2-3 mm from C plank into parallel lines.
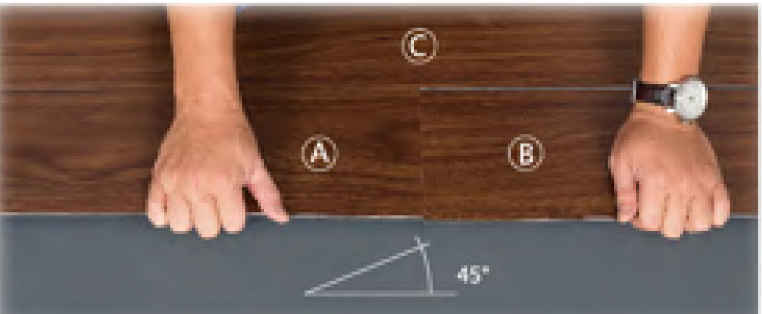
Lift up A and B planks at same time at a 45 degree angle.

Connect B to C plank, flat push locking.
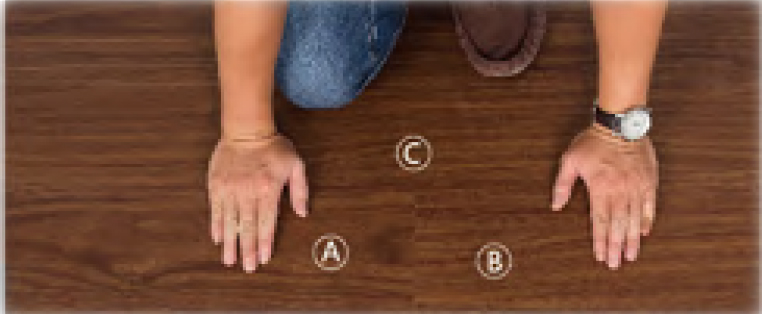
With the palm of your hands, make a downward pressure on A and B plate, do not force to press floor.
Sides and irregular shapes
Cut the panels to size using a sharp knife and ruler. Make an incision in the top and break off, carefully. You can also trim the panels as needed to fit around irregular shapes such as doorposts and heating pipes. This will be easier if you make a template from paper.
Finishing
In case of intensive use we recommend you apply an extra PU protection coating directly after installation. This also ensures increased impermeability because it will help fill the seams between the panels. In damp rooms we recommend treating the floor along the walls and bathroom fittings with a polyurethane sealant. Technofix planks cannot be used as a shower room floor.
The floor are smooth without slit after installation. If the floor are not smooth or have slit, they need to be lifted slightly and locked at a 10-30 degree angle. After locking, floor would be smooth automatically.
| Physical properties | Specification |
| Product number | RVC5-1224-XXXX |
| Width | 12 inches (308 mm) |
| Lenght | 24 inches (610 mm) |
| Total thickness | 5 mm |
| Wear layer thickness | 0,30 mm |
| Top surface coating | Mat polyurethane with UV protection |
| Type of top surface | Slate emboss |
| Clkick system locking | Angle push 4 sides |
| Plank edges | Bevelled edge |
| ft2 per unit | 2 ft2 |
| ft2 per box | 24 ft2 |
| Tiles per box | 12 tiles |
| Weight (box) | 39.68 pounds |
| Acoustic Underlayment Included | |
| Type | EVA |
| Thickness | 1mm |
| Sound Transmission Class | STC 53 |
| Limited warranty | |
| Residential | 20 years |
| Light commercial | 10 years |
| Technical properties | Specification |
| Percentage of virgin vinyl | 100% |
| Percentage of recyclable materials | 100% |
| Toxicity (ASTM F963-07) | Non toxic, no VOC's |
| Slip resistance (ASTM C-1028) | Class E1 |
| Reaction to fire - Flame/Smoke Spread | 142 - 240 |
| Residual indentation | 0 mm |
| Phthalates Content | Phthalates free |
| Indoor Air Quality | FloorScore® Certified SCS-EC10.3-2014 v4.0 |